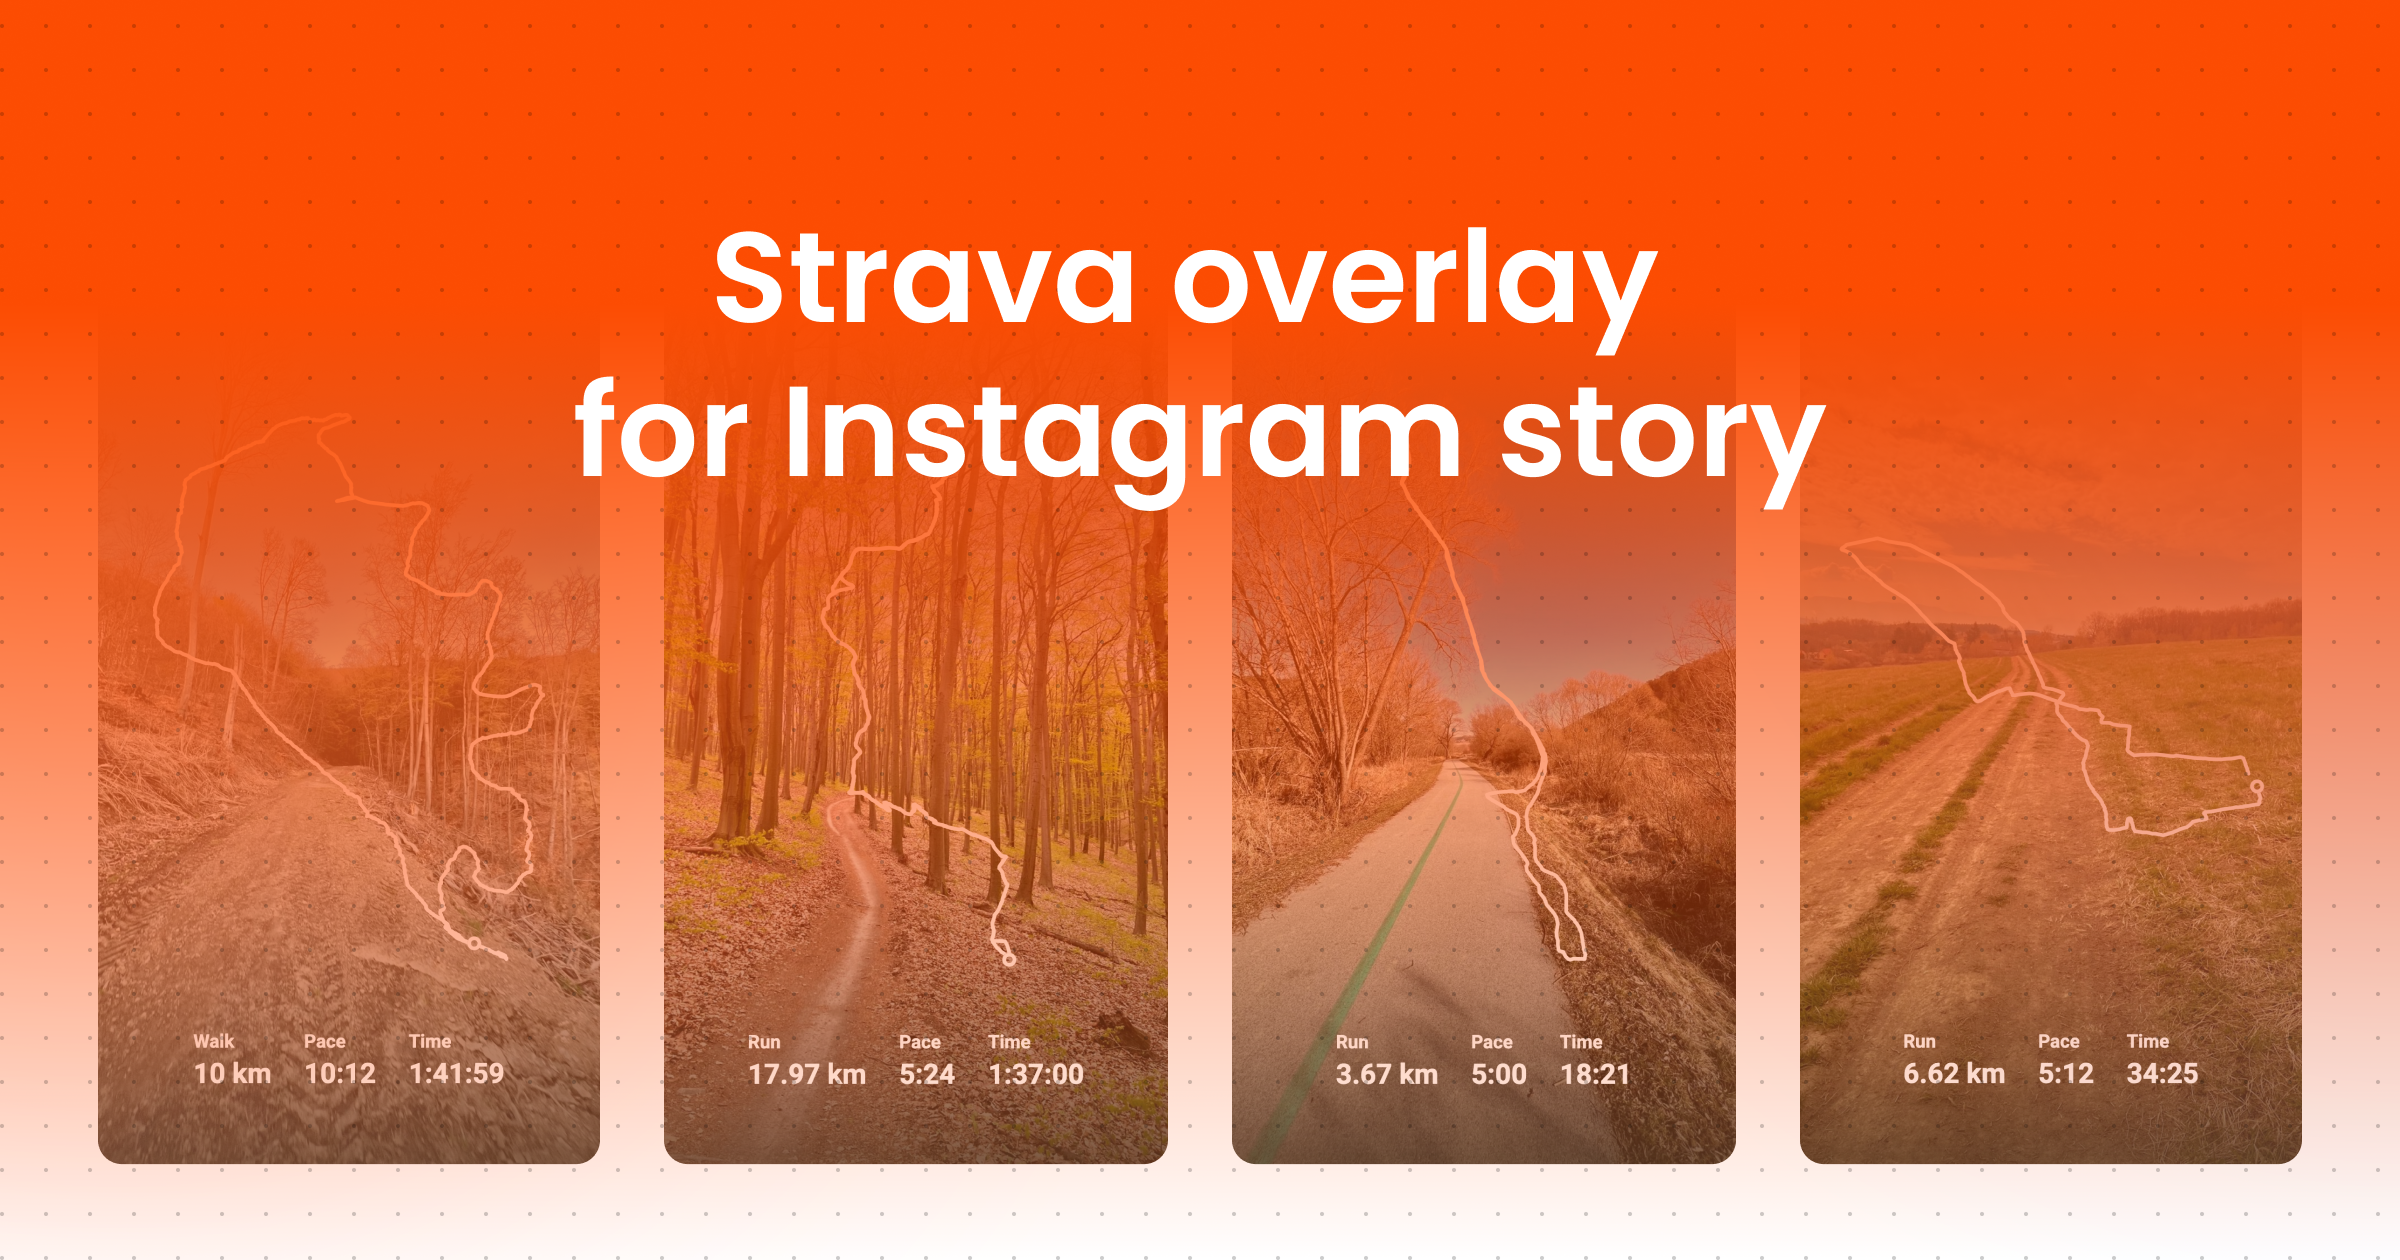
1. Open the Strava to Instagram app
Go to moqop.com/app/strava-to-instagram.
2. Connect your Strava account
Log in securely—Moqop only needs read access to your activities.
3. Select your activity
Choose any recent run, ride, or workout.
4. Switch to transparent overlay mode
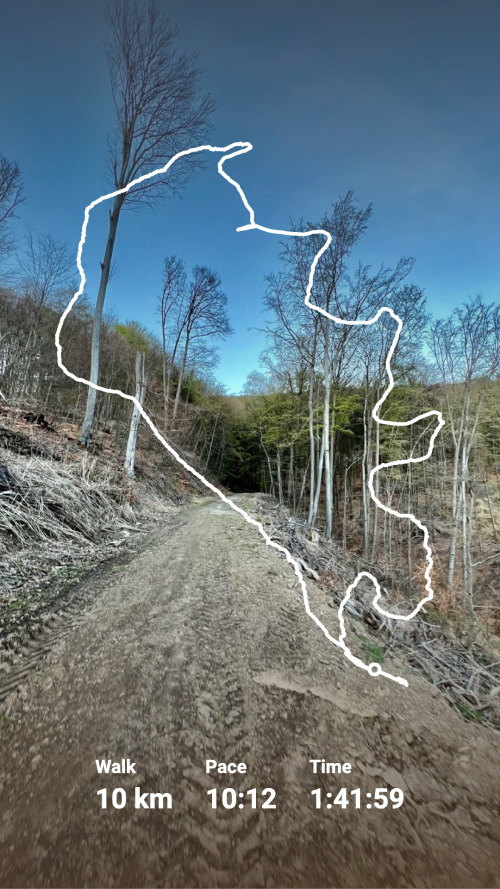
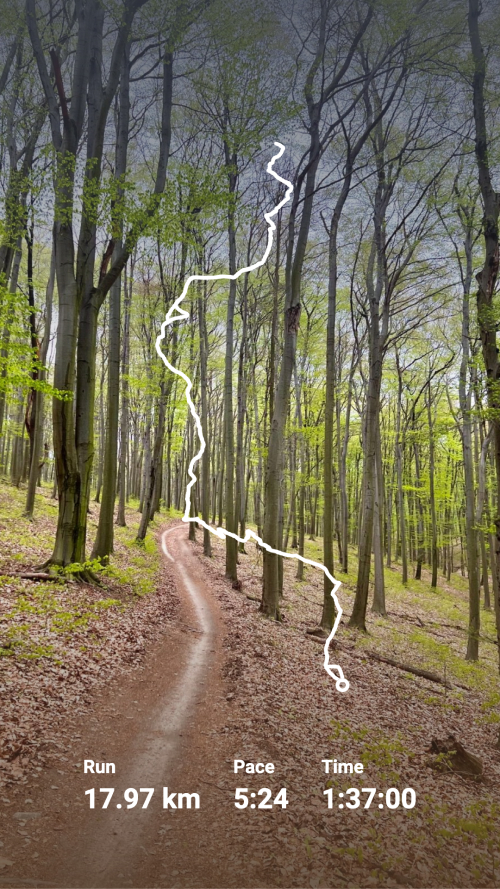
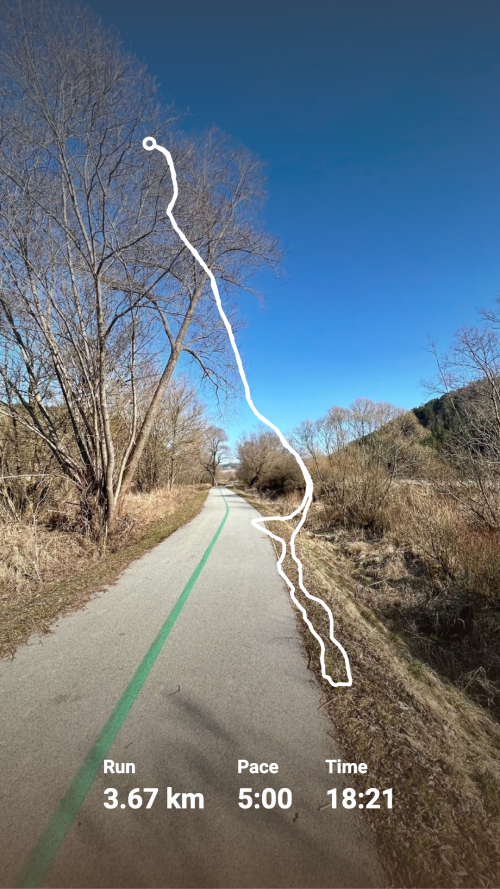
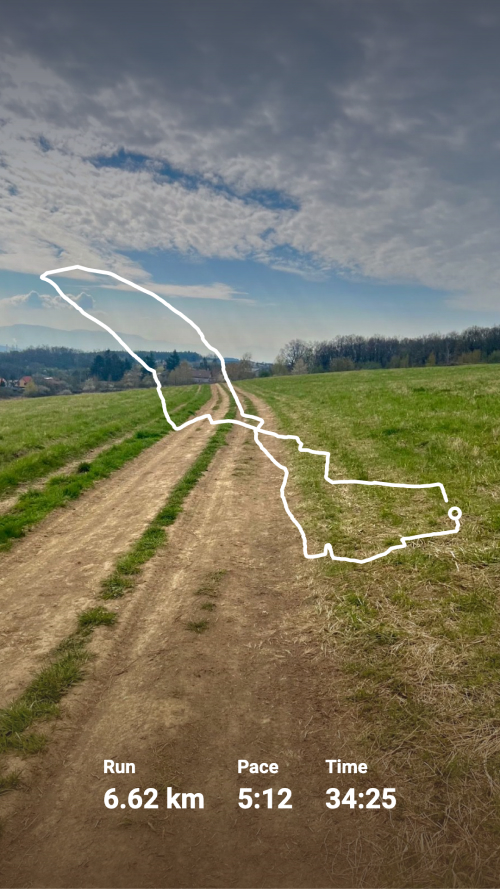
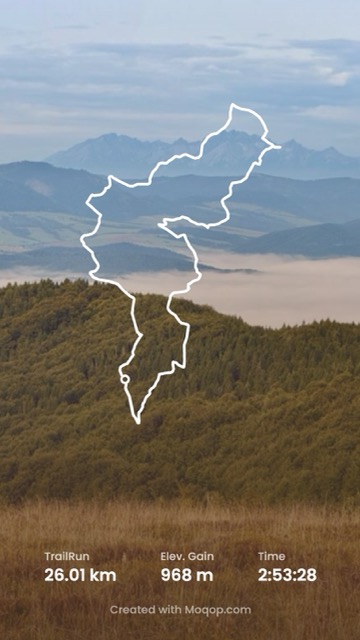
This strips the background so the stats and route can sit on top of your own photo.
5. Customize the overlay
Toggle stats (distance, pace, time, elevation) on or off, pick a route line style—solid, dotted, or double-line—and set your units.
6. Download and layer it on
Save the transparent overlay and add it to any photo in your Instagram story.
Why use an overlay instead of a full design
A full design works well on its own, but an overlay lets your own photo—the trailhead, the sunrise, the finish line—stay the visual, with the data layered on top instead of replacing it. That's usually the better choice when the photo itself is worth showing.
Tips
- Use a high-contrast background photo so the stats stay readable
- Keep the stat list short—two or three numbers read better than six
- Match the route line color to the photo's palette
- Save a couple of overlay styles for different activity types, so you're not rebuilding the look every time
Strava
Instagram
Tutorial
Overlay
MG
Milan Gladis, CEO of Moqop · Sep 04, 2025
Keep exploringTry Strava to Instagram


Try Strava to Instagram
template now
Strava
toInstagram
Generate Instagram Story from Strava activity and visualise running or cycling with a decent polyline over the picture.
Generate Image